
Previously we could schedule Teams meetings and Teams live events. Now there’s a new, third option called webinars for those “in-between” needs. It is currently rolling out (May 2021) so you may not see this option right away but check back soon.

Webinars enable up to 1,000 participants, but also come with some great features like custom registration pages with email confirmation to registrants, attendee reporting (in line with what we’re seeing in meetings and live events), and polls, chat, and reactions (as we have in meetings). We’ll also be better able to manage attendee audio/video as hosts of webinars.
Webinars can extend beyond 1,000 participants, though anyone beyond 1,000 will be view-only (non-interactive).
To schedule a webinar in Microsoft Teams webinar, follow these steps:
Scheduling a webinar in Microsoft Teams
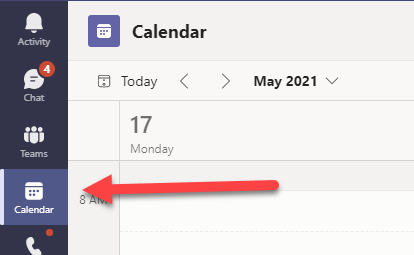
1. Go to the Calendar via the Microsoft Teams client left-hand nav
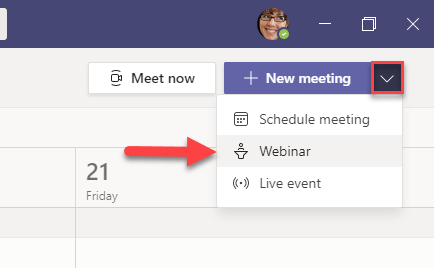
2. Choose the dropdown arrow next to New Meeting in the upper right-hand corner and choose Webinar.
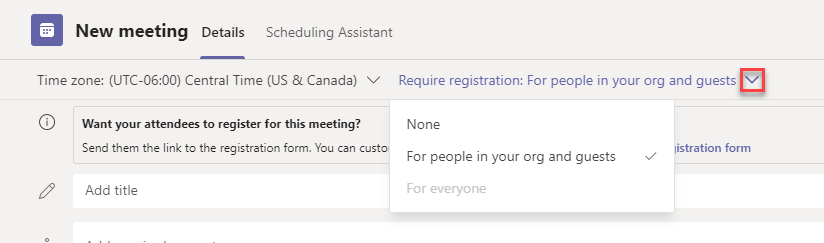
3. Choose the dropdown arrow next to require registration to choose who should be required to register for the webinar in order to attend. You can choose None, For people in your org and guests, or For everyone.
Note: If For everyone is grayed out for you, your administrators will need to allow you to require it outside your organization via policy. See this documentation for more info. While currently PowerShell, we can expect to see UI settings added to the Teams Admin Center eventually as with other features.
4. Select View registration form to configure the registration form attendees will complete.

5. Configure all of the details for the registration form, including any additional fields you want to add or speaker information.

6. Click Save when finished customizing. You’ll see a preview of what your attendees will see and can copy the registration link from the top ribbon. When finished previewing, click the X in the upper-right hand corner to close the pop-up.

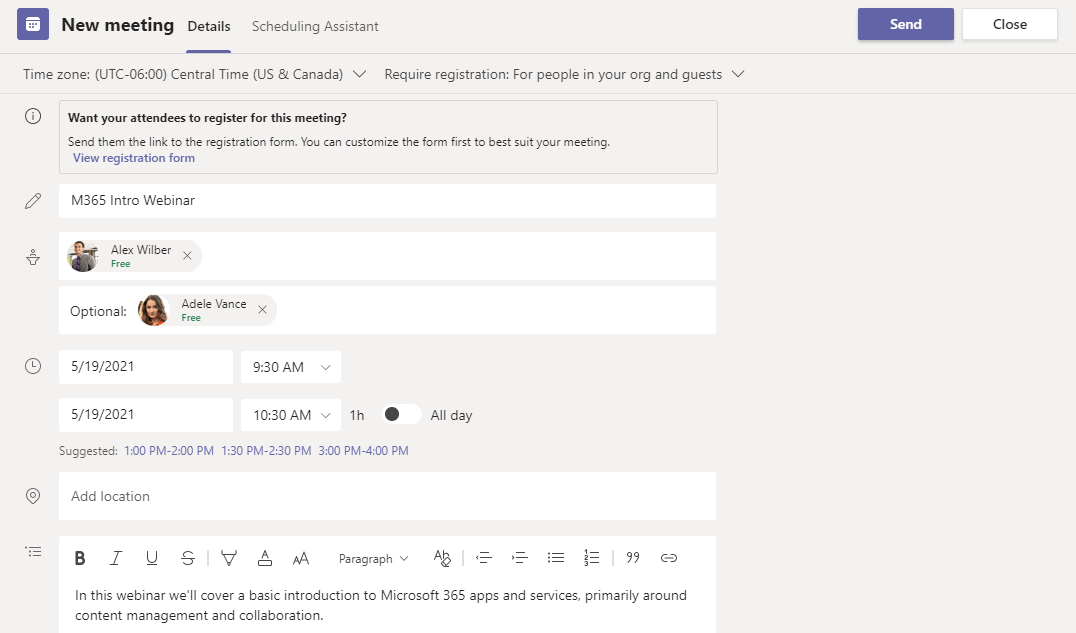
7. Complete the invite details for your presenters (matching the details you placed on the registration form, of course). Click Send when ready.
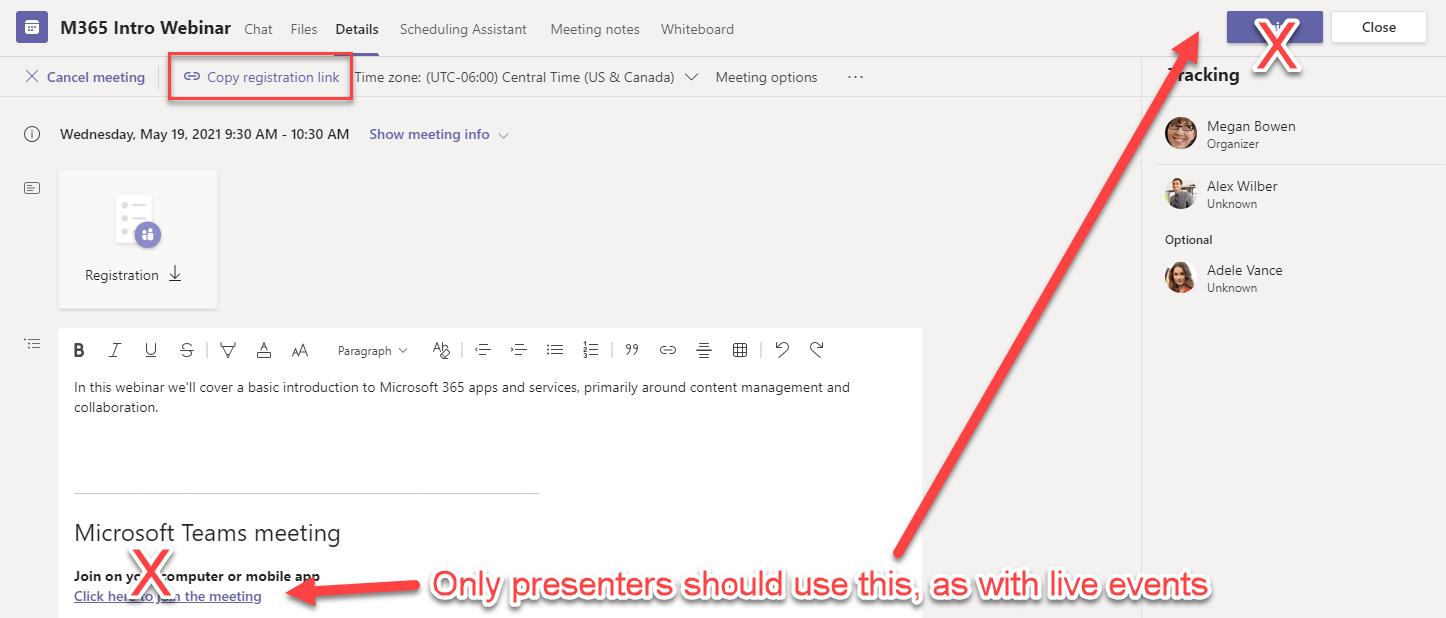
That’s it! Just be sure to only share the Registration link (open event from calendar and click Copy registration link) for your attendees and NOT the “Click here to join the meeting” link.
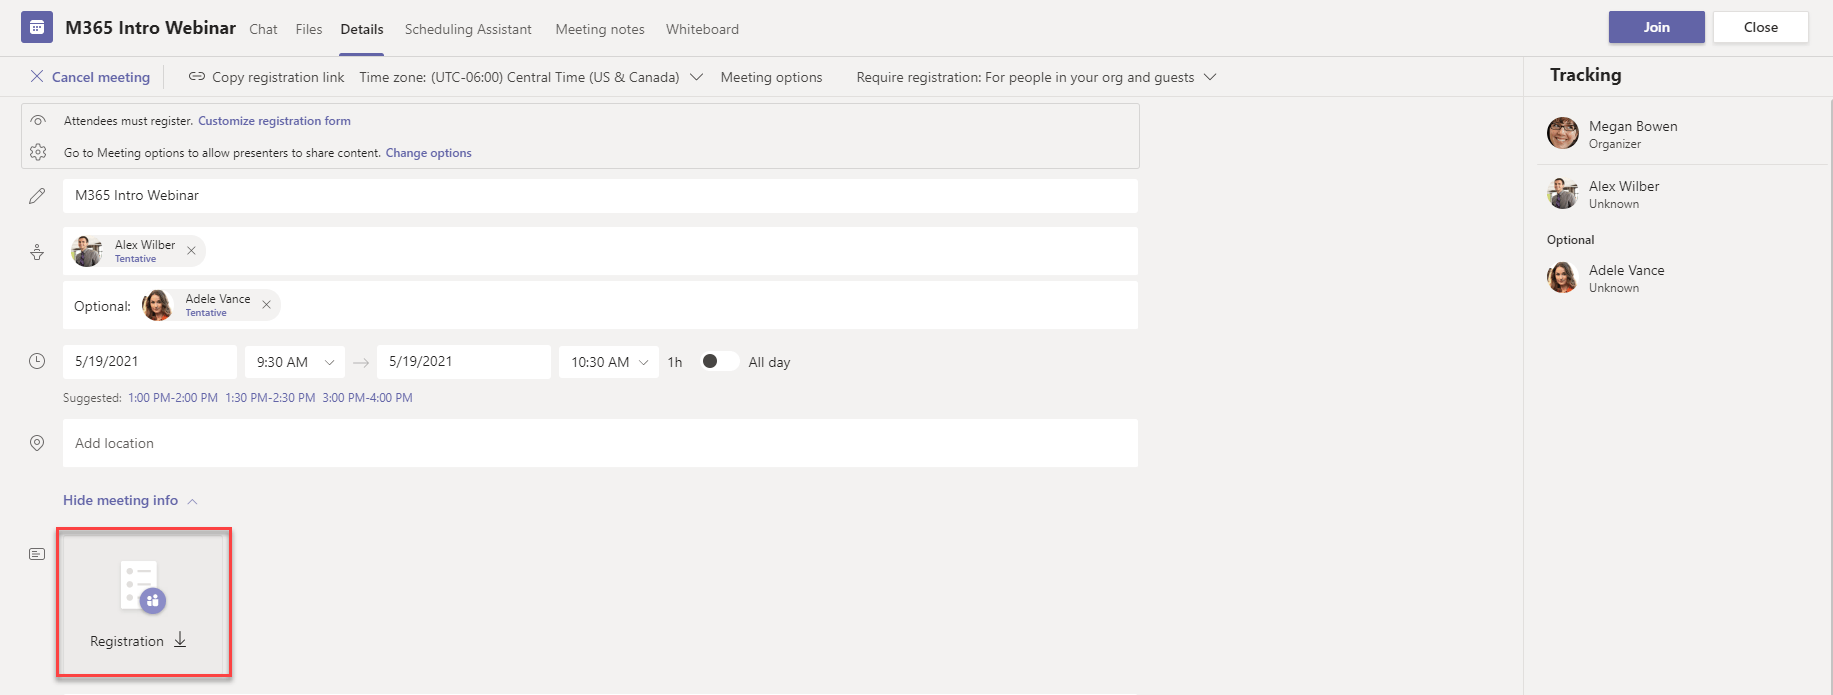
You can download current registration any time by re-opening the event from your calendar and selecting the registration file icon shown below.
Thank you! How can I make sure that the webinar is added to the registered participants´ calendar?
They will receive an email with an attached calendar item (ics) they can save to their calendar. You might also consider pulling the registration report and sending custom reminders.
Thanks so much! I’m afraid that most haven’t clicked on that attachement and saved to their calendar (the invite was sent over a month ago and the webinar is in a few days). I would like to send a reminder the day before to the registree list with a join link to the webinar room. How can I do that? Appreciate the help!