Microsoft Planner has built-in notifications for assigned tasks, reminders, and overdue tasks, but sometimes you’ll want to be kept in the loop when important tasks are completed as well, even when the task isn’t assigned to you specifically.
We can create a Power Automate flow to accomplish this. In this post, I’ll cover three topics:
- Creating a flow from a template
- Creating a flow from scratch
- Sending notifications to task assignees
Use a Power Automate template to send an email when a Planner task is completed
First, you’ll need to sign in to Power Automate using your work or school (not personal) Microsoft account. Then follow these steps:
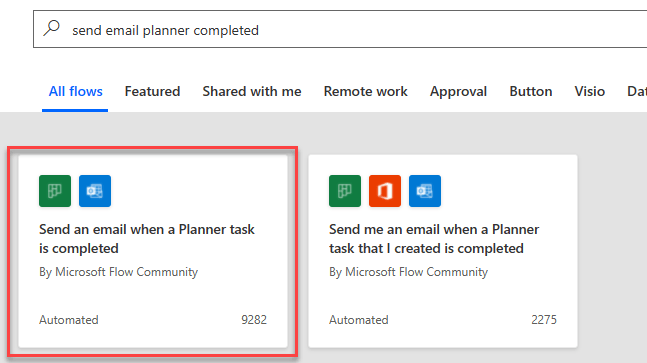
- Select Templates and search for “send email Planner completed” (or click this link)
- Click Continue
- Select the Group and Plan for which you’d like emails to be sent when tasks are completed.

- Enter the email address(es) to which notifications should be sent when tasks are completed in the selected plan. You can also customize the message body simply by clicking in the body field and entering your own text and/or dynamic content.

- Click Save (at the bottom or upper right)
- Go to the specific plan for which you’ve created the flow (Hint: you’ll find it at https://tasks.office.com) and complete a task to test it. You may want to create a fake task for your test.

- Check the email inbox for the address(es) you entered in step 4. You should have received your custom email. Note: It may take a few minutes for it to appear.
Note: Your email will come through with the “Completed by” individual’s ID instead of their display name. Follow the steps in this post to change the ID to display name.
Video demonstration using a template (see bottom of post for non-template):
Create a Power Automate flow to send an email when a Planner task is completed (without using a template)
To accomplish the same without starting from a template, follow these steps:
- Select Create from the left-hand navigation of Power Automate
- Choose Automated cloud flow
- Title your flow (perhaps something like Send email when Planner task completed)
- Choose your flow’s trigger (Planner: When a task is completed)

- Select the Group and Plan for which you’re creating the flow
- Click New step
- Find and select Send an email (V2)
- Enter the recipient’s email (or multiple, separated by semicolons)
- Enter a subject (perhaps using dynamic content such as the task title in the subject – see video at bottom of post for demonstration)
- Enter a message body (again, using dynamic content to insert details such as title and completed time)

- Click Save and test your flow by completing a task in the plan you selected in step 5
Here’s a video demonstration that adds the task description and a link to the full plan in the email as well:
How to send the completed task notification to the task assignee(s)
If you’d like your notification to go to the individual(s) assigned to the completed task, follow these steps:
- After your trigger (When a task is completed), insert the Get user profile (V2) step.
- Click inside the User (UPN) field, then select Expression from the dynamic content panel

- Paste the following expression in the box and click OK
triggerOutputs()?['body/completedBy/user/id']- Click inside the “To” box and switch to Advanced Mode to be able to use dynamic content

- Use the dynamic content from the Get user profile (V2) step to insert Mail
- Save and test your flow.

Leave a Reply